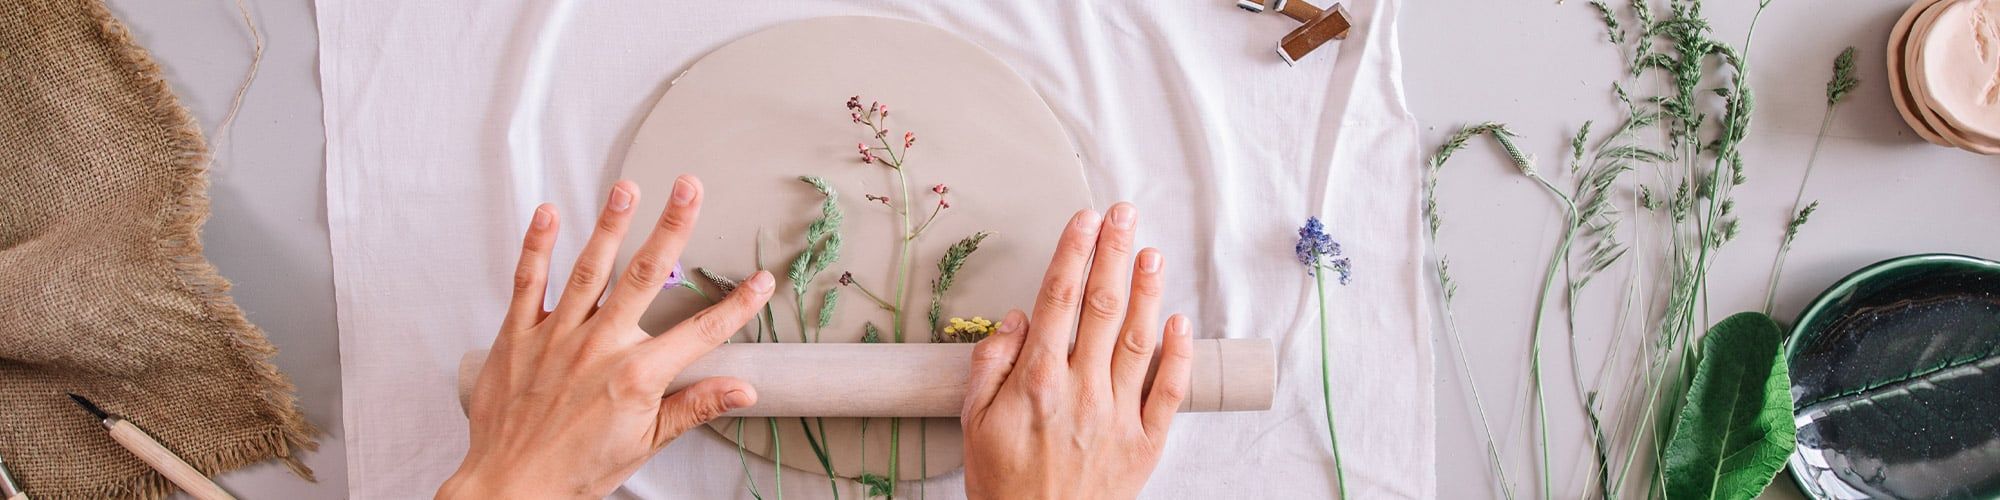
With summer vacations just around the corner, it's time to get creative. Clay modelling is a fun way to get away from routine and get creative.
What does it involve?
Créalia self-hardening clay is a natural clay that needs no firing. All it needs is to dry, which gives it a certain resistance. Its natural clay composition gives it excellent plasticity for modeling. In just a few steps, you can model it as you wish.
The various stages:
- Step 1: Here, we need a smooth wooden surface and a roller. Cut the clay with the cutting wire, then position two wooden planks of equal thickness on the sides and spread with the wooden roller.
- Step 2: impression technique At this stage, it's necessary to position the reverse side of a leaf from a salvaged tree on the spread clay. After applying pressure with the roller, cut away the overhang. Finally, remove the foliage to reveal the imprint.
- Step 3: Die-cutting technique Following on from step 2, you'll need to cut out the graphic shapes - round, square, cactus and many others - according to your preferences.
- Step 4: this is subdivided into three sub-steps: texturing the clay with mirettes (tools for removing clay during modelling); texturing with the metal pick (used to make lines and dots for texturing self-hardening clay or perforating die-cut patterns). Finally, we have the technique with the trimmer (texturing foliage with the trimmer, drawing lines and effects by pressing on the trimmer).
- Step 5: It dries between 1 and 4 days. Once the clay is dry, sand the pieces for a soft, smooth texture.
This is a great craft to try out with your children. All that's left to do is order this clay
NB: By following this link, you can also watch a short video describing the whole process.
Learn more about this
Technology
Visit cultura.com
See more technologies from this institution